
Step 1: Register
- Go to the GetProperLinks website.
- Click the “Join” button to create your account and get started.
- You will be directed to the login and registration interface. Click the ‘Register’ button to switch to the registration form. Then, fill in the required details to create an account on this site.

Step 2: Log In
- After completing registration, you will receive an email containing your password.
- Click the “Login” button in the email, then use your username and the provided password to log in to your account.
Step 3: Access the Project Owner’s Dashboard
- Once logged in, you will be directed to the Project Owner’s dashboard.
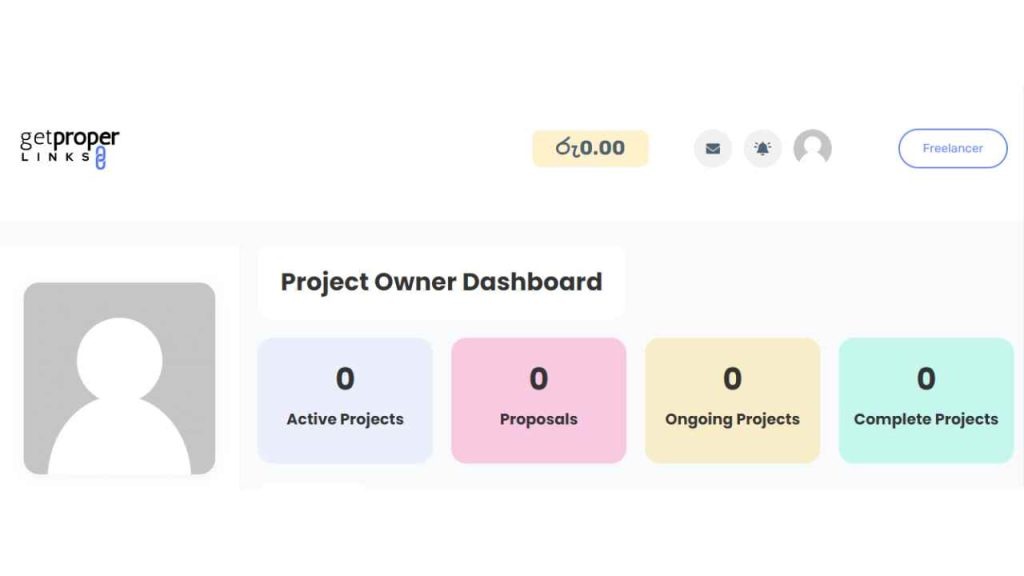
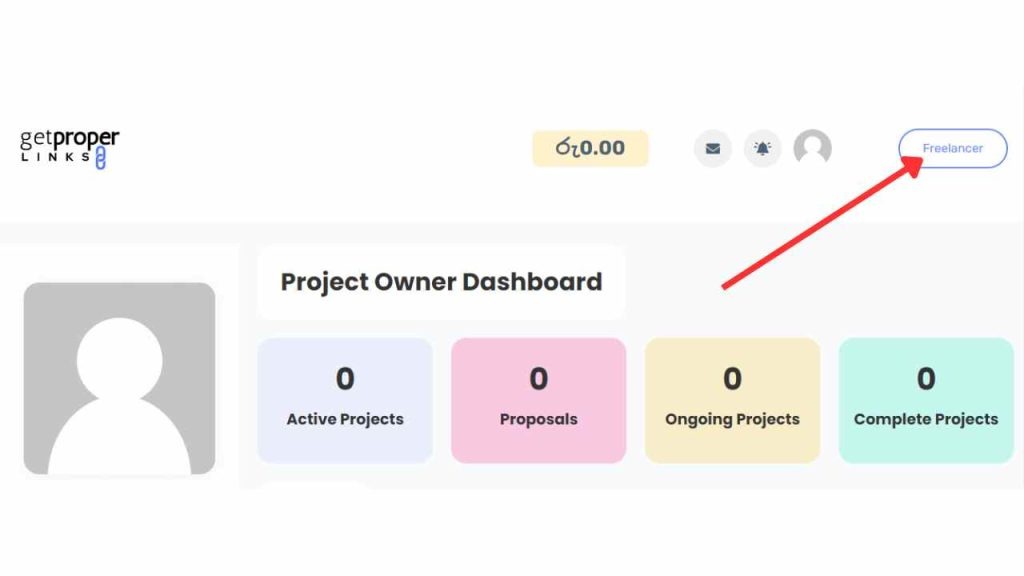
- If you want to log in as a freelancer, you can easily switch to your freelancer account at any time by clicking the button in the upper right corner.
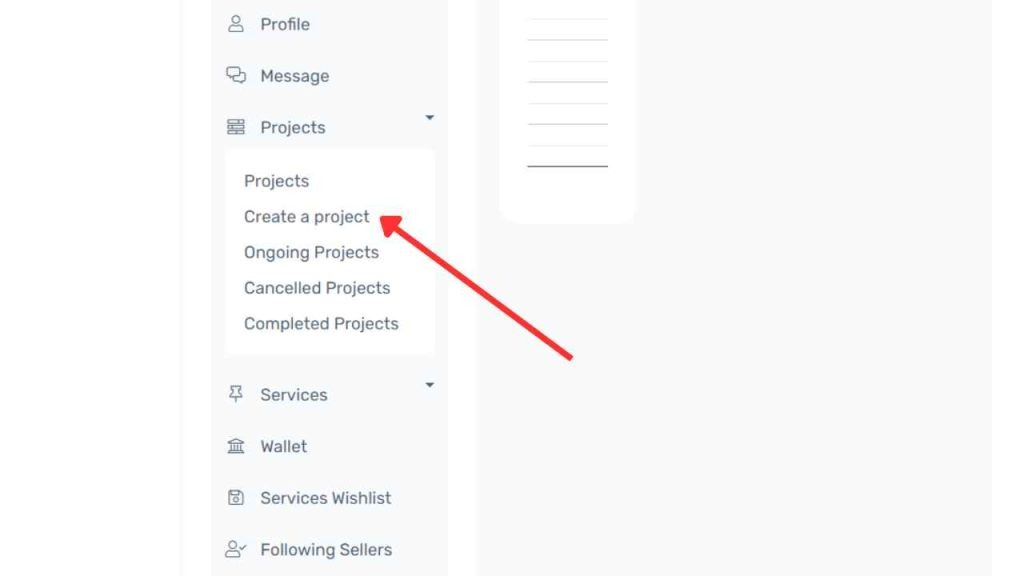
Step 4: Create a Project
- In the Project Owner’s Dashboard, find the Projects option in the lower left corner.
- Click on the drop-down menu and select Create a Project.
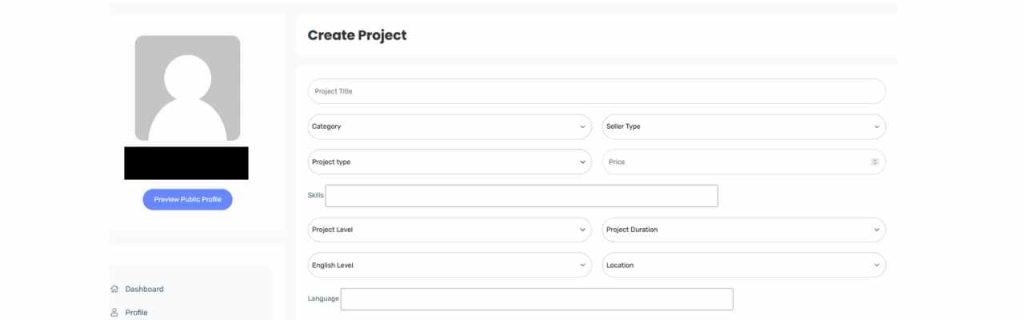
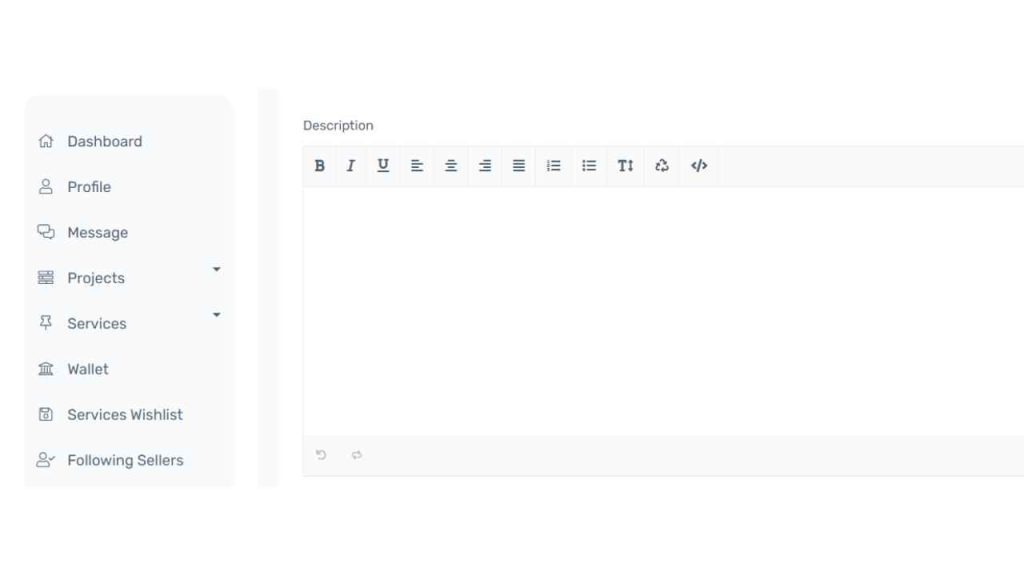
Step 5: Fill your Project Details
- You will be directed to the project creation interface.
- Please fill in the details below.
- Please add the following details under the Description section:
- Job Title
- Reports To: Project Owner
- Department
- Job Specification
- Job Description
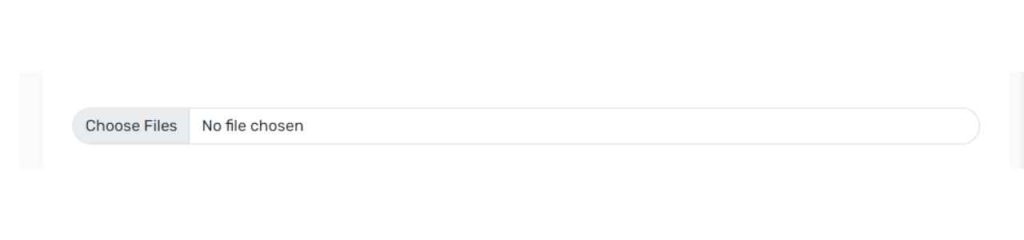
Step 6: Add Attachments
Before finalizing the project creation, make sure to attach the following documents:
- Before finalizing the project creation, make sure to attach the following documents:
- Guideline : Your guide should be a fully informative document that provides clear and detailed guidelines about the project. It should include all the necessary information that a freelancer needs to understand the task, ensuring they can complete it effectively.
- Test task : This task is designed to help evaluate freelancers. It should be short but comprehensive enough to assess the freelancer’s skills and suitability for the project. Ensure that the test accurately reflects the key responsibilities of the full task while remaining manageable in scope.
- Guideline : Your guide should be a fully informative document that provides clear and detailed guidelines about the project. It should include all the necessary information that a freelancer needs to understand the task, ensuring they can complete it effectively.
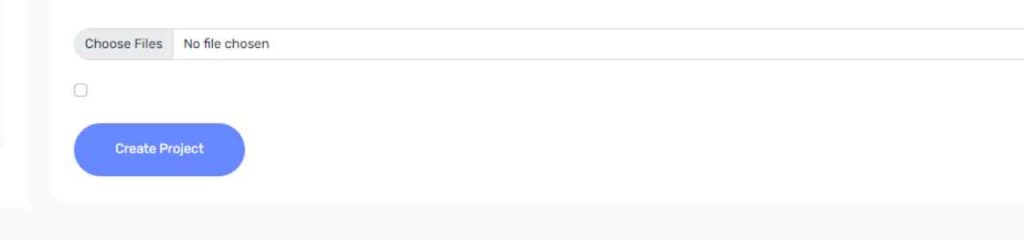
Step 7: Create the Project
- Review all the information you have entered.
- Once everything is complete and accurate, tick the checkbox labeled “Featured Post,” then click the “Create Project” button to proceed.
Step 8: Project Status and Editing
- After creating your project, it will appear as a pending project, allowing you to make any necessary edits or delete the post.
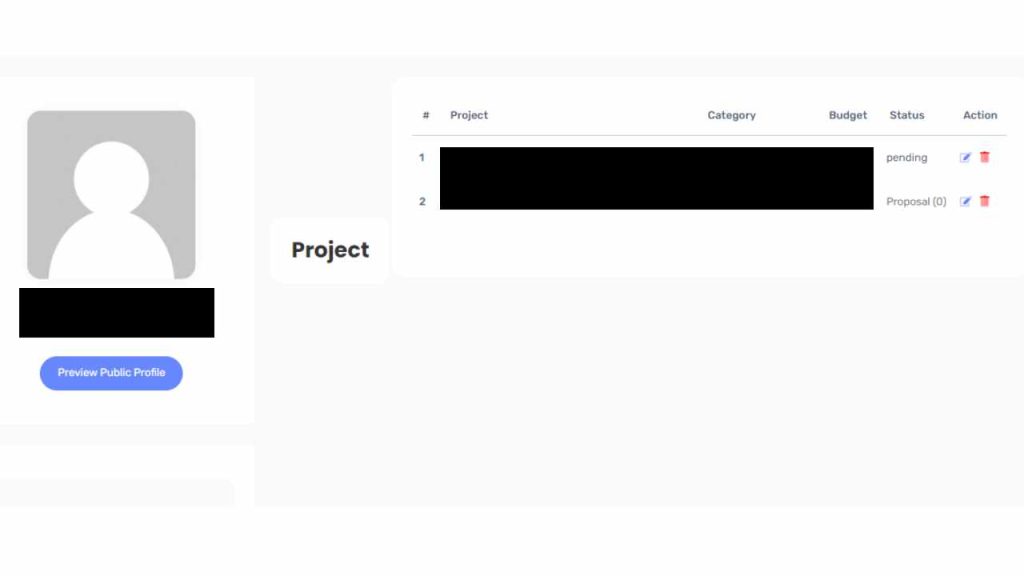
Great job! You’ve successfully created the project.
Once the project is reviewed by the admin, it will be published and made available for freelancers to view.